TOP 220 + BEST CAMERA RAW PRESETS FREE DOWNLOAD 2023
WATCH ON YOUTUBE
How to Install Camera RAW Presets in Photoshop
Do you want to install and use Adobe Camera Raw (ACR) presets on your Windows or Mac computer? With the new .XMP format, Adobe now allows you to use presets directly in ACR (version 10.3 or newer)
After downloading and unzipping my camera raw presets, you will notice that there are three folders included: Two folders for Adobe Lightroom and Lightroom Classic (.lrtemplate and .XMP format) and one with Adobe Camera Raw (ACR) Presets for Adobe Photoshop in version 10.3 or newer.
Installing Presets in Adobe Camera Raw 10.3+ (Windows)
Navigate to the following location on your computer: "C:\Users\UserName\AppData\Roaming\Adobe\CameraRaw\Settings" and leave this window open.
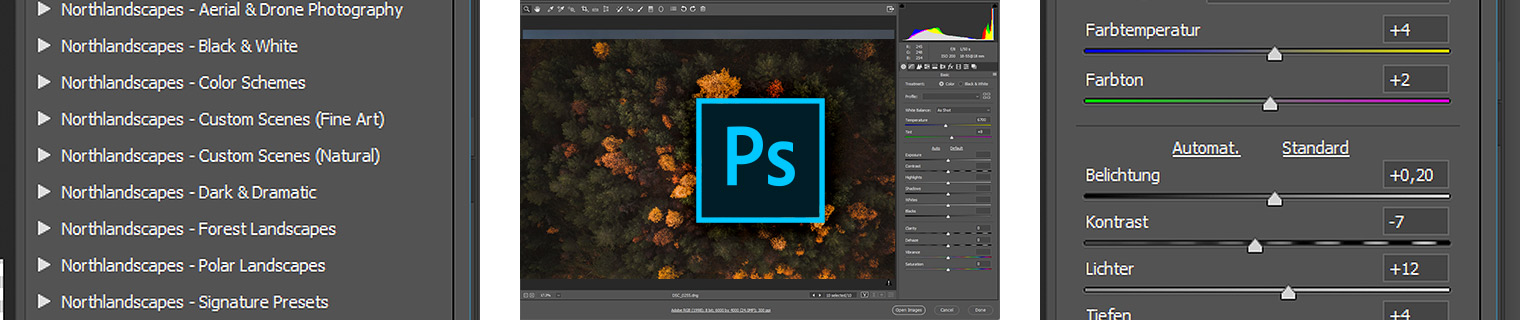
Go to the location where you unzipped your presets and open the ACR presets folder, usually named 'Photoshop - Adobe Camera Raw (ACR) Presets'
Select the desired preset folder(s) containing the XMP file(s) and press CTRL+C to copy them
Go back to the window where you opened the 'Settings' folder and hit CTRL+V to paste the folder(s) inside. Now you should have the folder(s) with the preset name (for example 'presets by sarkar editz -') inside the 'Settings' folder
Start Photoshop and the presets are ready for use
Installing Presets in Adobe Camera Raw 10.3+ (Mac)
Open a new Finder window and go to "UserName > Library > Application Support > Adobe > Camera Raw > Settings", and leave this window open. (If the 'Library' folder is not visible, you can access it by following the steps in this Adobe article.)
Go to the location where you unzipped your presets and open the ACR presets folder, usually named 'Photoshop - Adobe Camera Raw (ACR) Presets'
Select the desired preset folder(s) containing the XMP file(s) and press Command+C to copy them
Go back to the window where you opened the 'Settings' folder and hit Command+V to paste the folder(s) inside. Now you should have the folder(s) with the preset name (for example 'presets by sarkar editz') inside the 'Settings' folder
Start Photoshop and the presets are ready for use
Best Outdoor Photo Editing For Boys | Adobe Photoshop Tutorial,Best Outdoor Photo Editing For Boys | Adobe Photoshop,Best Outdoor Photo Editing For Boys | Photoshop,Best Outdoor Photo Editing For Boys Photoshop,Best Outdoor Photo Editing For Boys,Best Outdoor Photo Editing,Best Outdoor Photoshoot,Outdoor Photo Editing,Best Outdoor Pose,portrait photoshop tutorials,how to edit portraits in photoshop,photoshop editing tipsIf you are looking for somebody to make a review of your products or product of your company, such as:phones, tablets, PC, gadgets or even apps, you can contact us so we can make a deal...email➤ ►asimabbasi5976849@gmail.com
Disclaimer -
video is for educational purpose only.Copyright Disclaimer Under Section 107 of the Copyright Act 1976, allowance is made for "fair use" for purposes such as criticism, comment, news reporting, teaching, scholarship, and research. Fair use is a use permitted by copyright statute that might otherwise be infringing. Non-profit, educational or personal use tips the balance in favor of fair use.
THANKS FOR VISITING


0 comments: